

How to Send Mass Emails in Outlook: 2025 Guide
How to Send Mass Emails in Outlook: 2025 Guide
Whether you're part of a large enterprise or a small startup, businesses of all sizes often need to contact numerous recipients at once as part of their cold outreach, promotional efforts, or other campaigns. Sending emails manually to many contacts isn't comfortable and practical.
Bulk campaigns allow you to send universal messages to a broad audience, often with the bonus of some personalization. If you're using Outlook for email outreach, there are two main ways to send mass emails:
The simple and fast option: Using Charge for Outlook, you can send up to 1,000 personalized emails in a single campaign. You can customize each email using variables, preview before sending, and track response rates - a perfect tool for managing email outreach directly from/in Outlook.
The default option: Using Outlook’s built-in Mail Merge feature, you can send bulk emails manually.
In this article, we will explore both methods and provide a step-by-step guide on sending bulk emails in Outlook.
How to Send Bulk Emails from Outlook
Sending Bulk Emails with Charge
Step 1. Install Charge for Outlook
Open your browser’s add-on store and search for Charge for Outlook. Then, install the add-on. Charge is available on Google Chrome and Microsoft Edge.

Step 2. Connect Your Mailbox to Charge for Outlook
After add-on installation, you will be automatically redirected to Outlook. After Outlook loads, you will face Charge’s “Connect mailbox” pop-up.
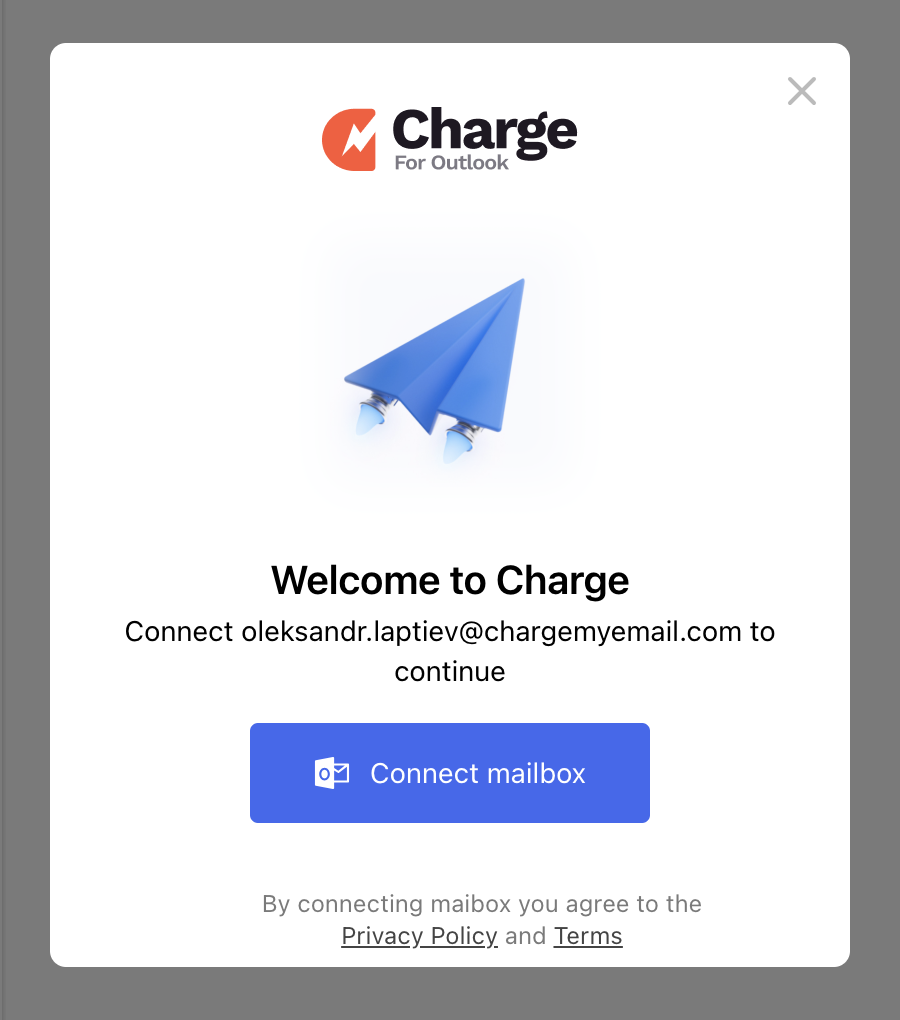
To proceed with Charge, click the blue “Connect mailbox” button and select the mailbox you want to use for bulk sendings.

Step 3. Import Contacts
Click the “Send mass emails” button to start the campaign creation flow. Select .CSV or .XLSX file with your recipients.

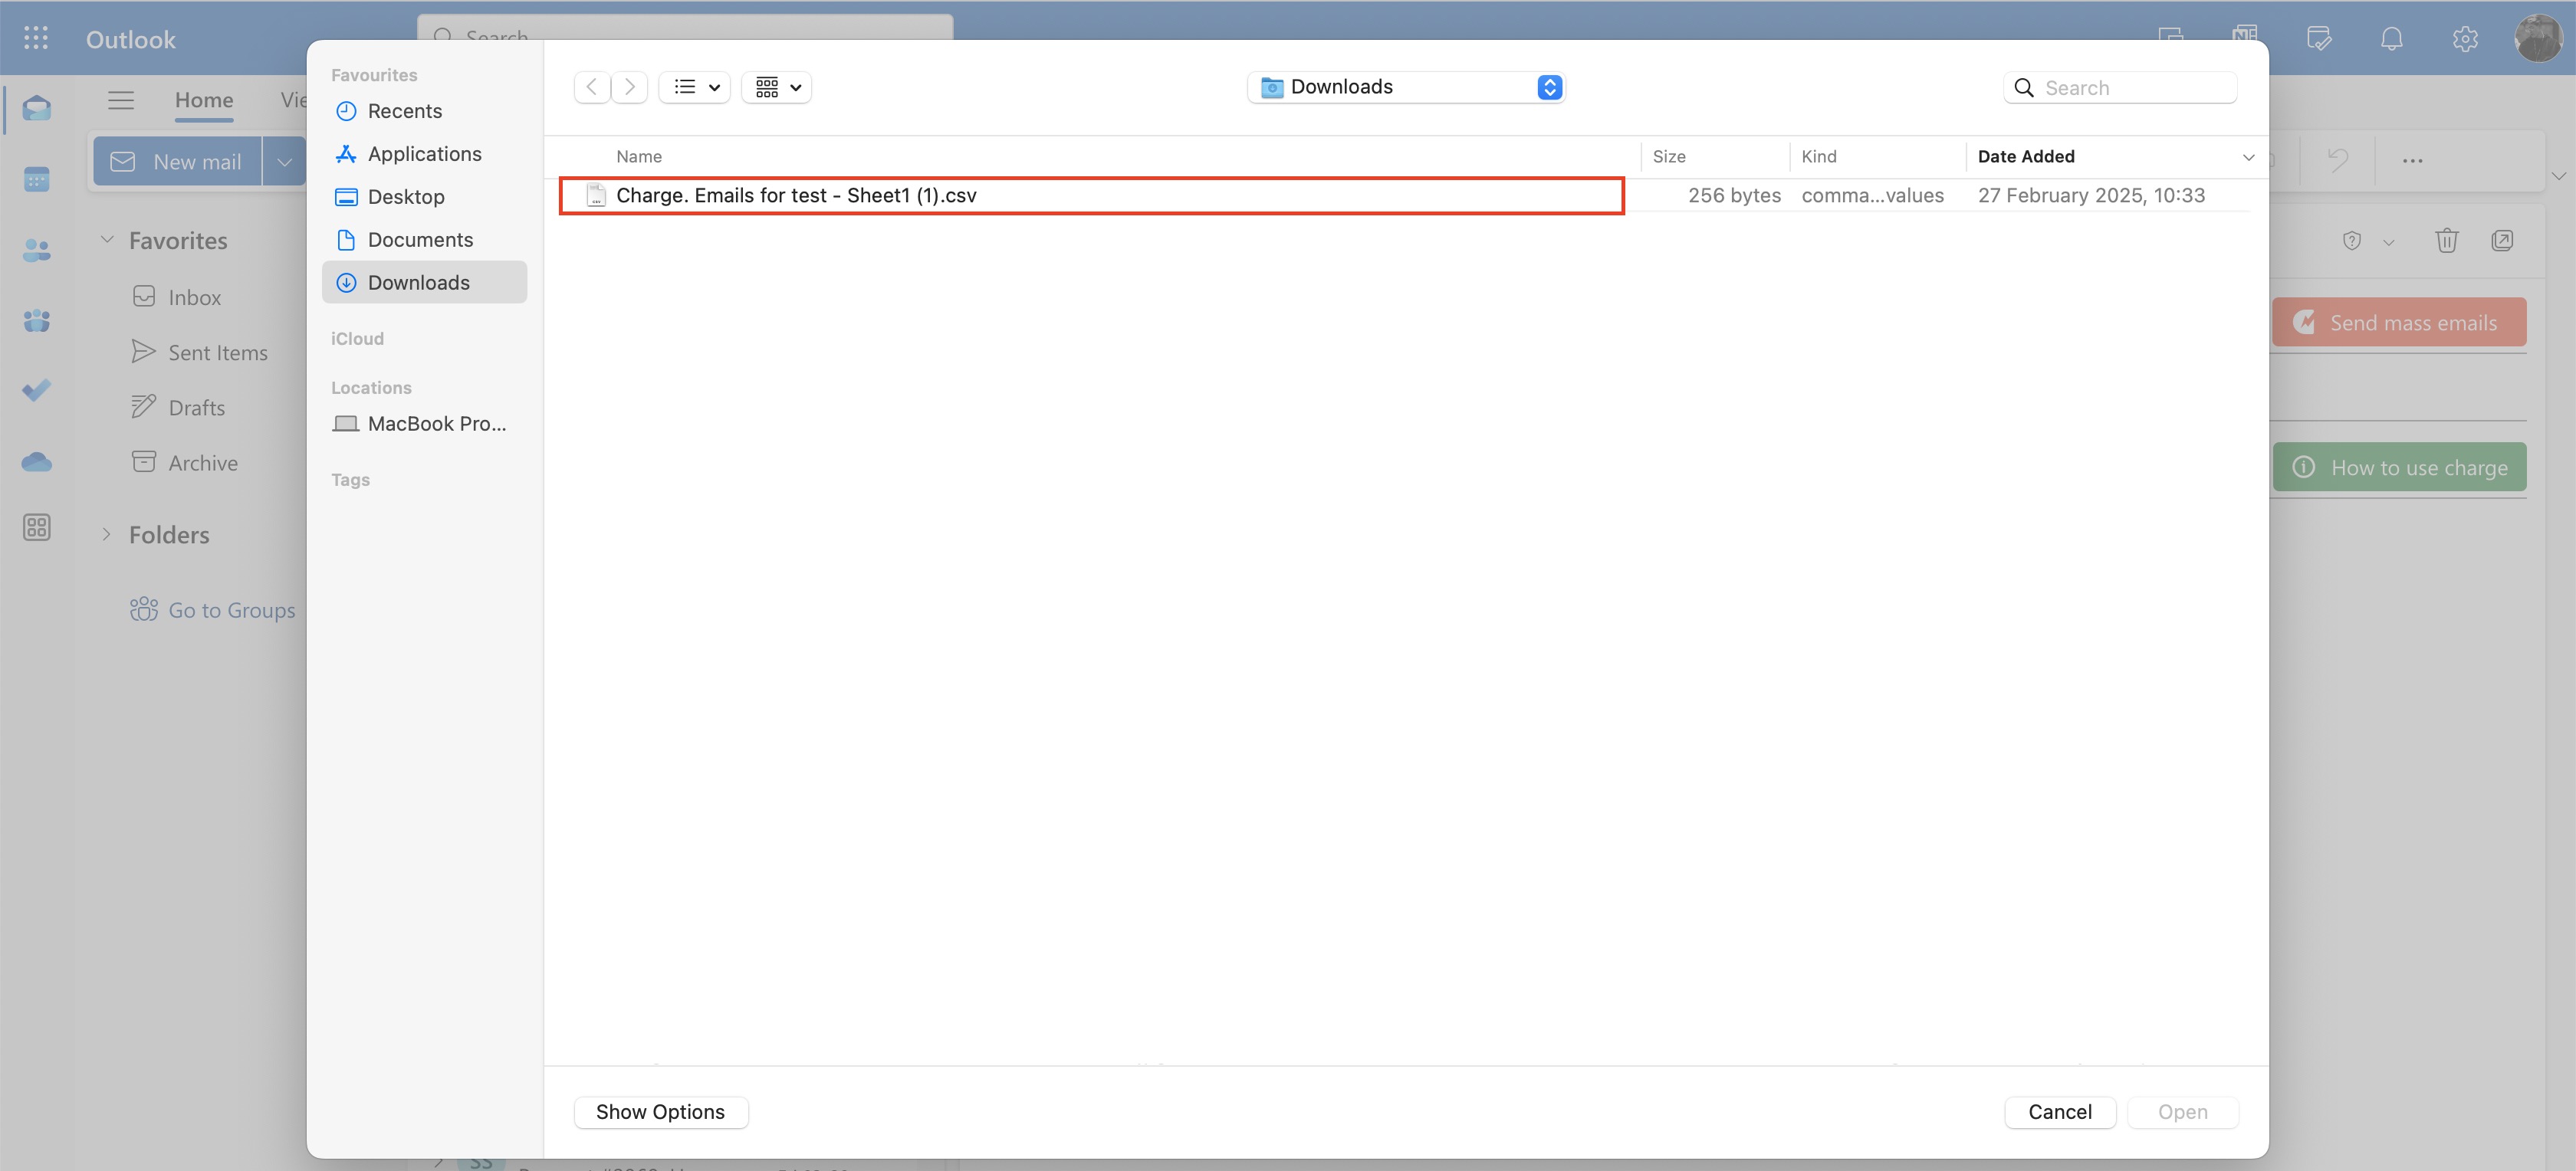
Note: Your file with recipients must contain an “Email” column so Charge can read it correctly.
Step 4. Create a Personalized Email Template With Variables
After importing contacts, you can write your email template. Charge allows you to personalize your emails quickly. To add a variable, click on the place in your content where you want to add it, click “Insert variable,” and select the variable you want to use.

Note: Before using variables, add them to your CSV file with recipients.
Step 5. Final Review and Send
Once your email is ready and the recipient list is set, take a moment to review it and then click the “Send” button to start your bulk email campaign in Outlook. Charge works in the background, so you can close Outlook or monitor progress in the campaign menu.

How to Send Bulk Emails Manually
Step 1. Create a Contact Group
To make the process of sending bulk emails easier, it's recommended to group your contacts. Open the Outlook desktop or web app, go to the People tab, and select New contact list.
A new pop-up window will appear where you can name your list and select contacts to add.
Note: If you’re using Outlook for Mac, ensure you're using the older app version by unchecking the New Outlook option at the top of the screen.
Step 2. Compose Your Email
Writing the email for your bulk campaign is nearly the same as composing a single email. Click New Mail or New Message, then write or paste your email content.
Step 3. Add the Contact List as Recipients
With your email template ready, it’s time to add recipients. In the To field, paste the name of the contact list you created earlier, and all the contacts in this list will receive your email.
Keep in mind that using the To field will expose all email addresses to every recipient. If you prefer to keep the recipient list private, continue to the next section for instructions on hiding the recipients.
Step 4. Final Review and Send
Once your email is ready and the recipient list is set, take a moment to review it. Ensure that it complies with the latest sender guidelines from email services like Outlook, Google, and Yahoo.
You can manually check the email or use an email testing tool. Once everything looks good, hit Send.
Depending on the size of your contact list, sending the email may take a few seconds or a few minutes.
How to Send Bulk Emails from Outlook and Keep Recipients Hidden
Why You Should Hide Recipients
If you add recipients in the To field, every recipient will see the others' email addresses. This could violate privacy laws like GDPR and lead to spammers gathering unwanted emails. Sharing email addresses can also make you look unprofessional and increases the risk of a “reply all” mess, cluttering inboxes with irrelevant responses.
Moreover, email service providers often flag shared email lists as spam.
Step 1. Complete Steps 1 and 2 from the Previous Section
To send bulk emails without revealing recipients, you’ll follow most of the same steps as in the previous section, including:
- Creating a contact group
- Composing the email
Step 2. Use Outlook’s BCC feature
Instead of placing the contact list in the To field, switch to the BCC (Blind Carbon Copy) field. This will prevent recipients from seeing each other's email addresses.
Step 3. Review and Send
Once your email is ready and recipients are added in the BCC field, review your email as described earlier and hit Send. Your recipients will receive the email, but they won't see who else is on the list as a result of your actions.
How to Send Personalized Bulk Emails from Outlook
With Outlook’s default Mail Merge, you can also personalize your emails. This feature allows you to send emails using data from a Word document.
Here’s how to send personalized bulk emails in Outlook using Mail Merge.
Step 1. Create Your Message Draft
Start by drafting your email in Microsoft Word, not in the built-in Outlook compose window. Instead, we’ll do so in Microsoft Word. Here’s an example of a draft:
""
Dear [User Name],

We have scheduled a short maintenance for our [App Name] due to deploying a new update, so some features might not work during maintenance.

Maintenance date: 03/04/2025, from 3 AM to 5 AM (UTC)

We appreciate your understanding and apologize for any inconvenience.

Best regards,
Your Company
""
Step 2. Start Mail Merge
Then, in Microsoft Word, go to the Mailings tab and select Start Mail Merge -> Email Messages.
Step 3. Define the Recipients
Next, use the Select Recipients option in Word to choose your recipient list. You can import a list from an Excel file or another data source.
Step 4. Add Merge Fields
Personalize your email by inserting merge fields - variables that will automatically pull in recipient-specific details from your data source. In Word, click Insert Merge Field, select the field you want to add, and use Preview Results to check how the personalized email will appear.
Step 5 - Merge and Send the Emails
When you're finalized an email, click Finish & Merge and select Merge to Email. Then, set the To field, subject line, and email format (HTML or plain text). Click Email Merge to Outbox to start sending your personalized emails.
How to Send Bulk Emails from Outlook Using Excel
When you combine Excel with Mail Merge, you can send mass emails with personalized details. Here’s how:
Step 1. Prepare Your Spreadsheet
Create a spreadsheet with your recipient list. Each column should contain a specific data type (e.g., first name, email address). This data will be used to personalize your emails.
Step 2. Create Your Email Draft
Follow the same process for creating an email draft as described earlier. Once your message is ready, move to the next step.
Step 3. Link Excel and Word
In Word, go to the Mailings tab, click Select Recipients, and choose Use an Existing List. Select your Excel file (or .csv file) containing the contact information.
Step 4. Personalize Your Email
Insert merge fields into your email body to pull data from your Excel sheet. Click Insert Merge Field to add personalized data, and preview the results using Preview Results.
Step 5. Merge and Send
After adding all merge fields, click Finish & Merge, choose Merge to Email, and fill in the necessary details. Finally, click Email Merge to Outbox to send your emails.
Limitations When Sending Bulk Emails from Outlook
Before you start sending mass emails, be aware of these limitations:
Recipient Limit per Email - Outlook restricts the number of recipients per email. Generally, this limit is around 500, but it can vary by version.
Attachment Size Limit - Outlook allows attachments up to 34 MB, but if you use OneDrive, you can attach files up to 2GB.
Attachment Restrictions - Certain file types, such as executable files or macro-enabled documents, are not allowed.
No Email List Management - Outlook lacks the tools to manage or segment email lists. If you need advanced list management, consider using a third-party tool.
Limited Design Options - If you want to send visually-rich emails with images or interactive elements, Outlook may not be suitable.
Limited Personalization - Outlook’s mail merge only allows basic personalization. For advanced features like dynamic content, you may need a specialized tool.
No Automated Tracking - Outlook doesn’t offer built-in tracking for metrics like open rates, click-through rates, or bounces.
No Automated Follow-Ups - Follow-ups need to be done manually, as Outlook doesn’t offer automation for follow-up emails.
No Opt-Out Mechanism - Outlook doesn’t provide an automatic way to handle opt-outs, which is a legal requirement for bulk email campaigns.
By understanding these limitations, you can better decide whether Outlook is the right tool for your mass email campaigns or if a specialized tool might be more suitable for your needs.